Hello Friends,
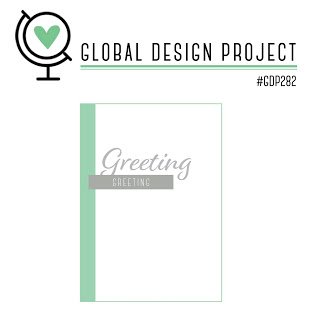
Today I want to share with you Sketch Challenge Card using a sketch ovber at Global Design Project challenge blog using the Sweet Strawberry Stamp Set! I love playing with Sketches sometime I switch them up a little and sometimes like today I use the sketch as is.
#GDP282 Sketch Challenge using Sweet Strawberry.
I am entering this card into the #GDP282 Sketch Challenge using Sweet Strawberry Stamp Set. A simple and easy to follow sketch, you can go simple or let your creative imagination run wild. You can find Global Design Project HERE.

Sweet Strawberry Stamp Set:
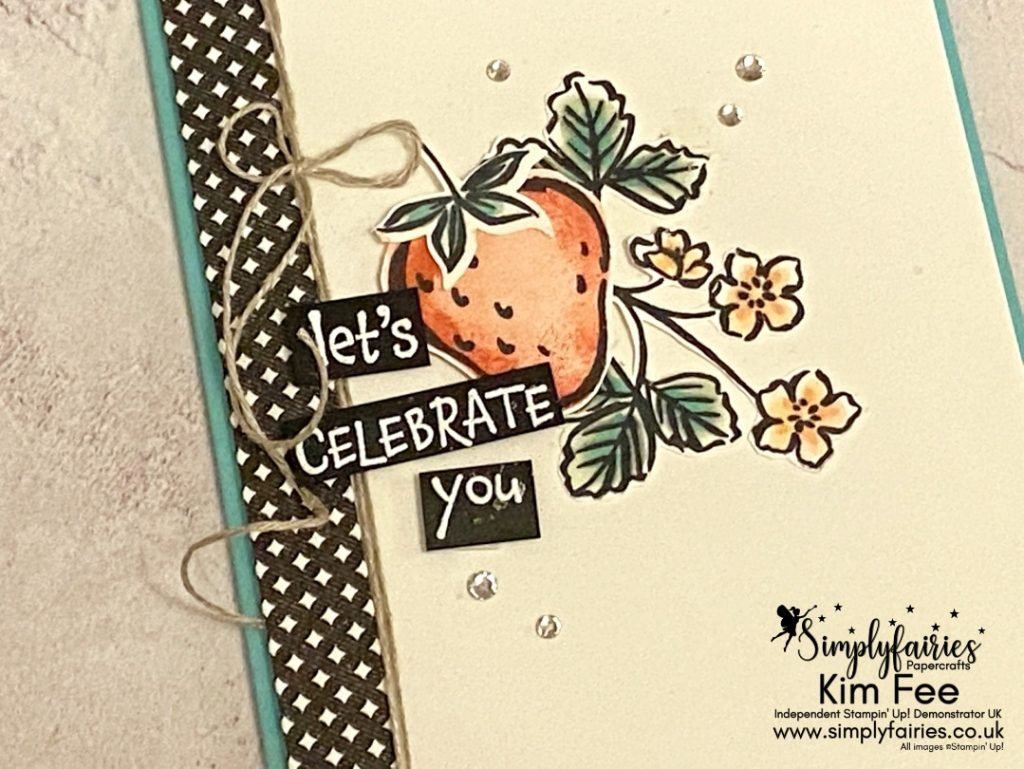
Today’s card focuses on the Sweet Strawberry Set, with a splash of True Love Designer Series Papers down the side, oh I sure will be sorry to see those papers go at the end of June.
Whilst this fun simple card showcases the Sweet Strawberry Bundle in the Jan-June mini catalogue on page 44, which I am pleased to tell you that it is a set that is carrying over to the new Annual Catalogue thats coming in a couple of months. I have used a couple of colouring mediums the Strawberries themselves are coloured using the Two Step Stamping infill image and Blushing Bride Ink Pad, with a sponge and Real Red Ink dabbed around the edge of the image before stamping, the rest is coloured using Stampin Blends.

I love the sentiment font on this card and it comes from the Hey Birthday Chick Stamp Set.

Want to come and watch me crafting live on facebook, you can find me HERE ..
SIMPLYFAIRIES STEP-BY-STEP TUTORIAL:
- Begin with a 14.8cm x 21cm Bermuda Bay Card Base scored at 10.5cm
- White Mat 14.3cm x 10 cm, Strip of patterned paper 1.5cm x 14.3cm
- US card Measurements, 4 1/4 ” x 11″ scored @5 1/2″
- White Mat 4″ x 5 1/4″. Strip of patterned paper 1/2″
- Add your patterned paper strips to the side of your White mat and tie your lined thread around twice and secure in a bow.
- Stamp all your images onto a piece of Scrap Basic White card stock and colour using your chosen colouring medium, I used Stampin Blends and Ink Pads. Then you will need to fussy cut the images. the strawberry you can use the co ordinating punch.
- Adhere your leaves to the mat using wet glue and layer up your strawberry on dimensionals.
- Stamp your chosen sentiment in versamark and heat emboss with White Embossing Powder. Cut in sections and add using dimensionals.
- Finish with splashes of Wink Of Stella and Rhinestones.
I hope you enjoyed the card today.
I will be sharing a few more card designs using this stamp set this week so please do pop back.
Want to replicate this card?
And need products I have used? Then why not visit my shop where you can purchase any of the products I used by clicking the links above and the photo icons below.
Our new mini catalogues is live and it is filled to the brim with lots of gorgeous new goodies and something for every occasion! You will find all the products I have used today below the catalogues at the bottom of this post.
Things you should know!
If you wish to purchase any of the item please click on the product photos below.
Be sure to come find me on facebook HERE, or find me on Youtube I go live every Thursday evening at 8.30pm for some fun crafting!
Want to join the Stampin Up! crafting community?
Join Stampin Up with me HERE to get £130 worth of product for just £35 in october 2025, and join my crafty community! or £194 worth of product for £99. an absolutely amazing kit price!
- For every order between £25 and £150 I will send out a handmade card and a free gift in THE FOLLOWING MONTH.
- Why not follow me on Facebook, for live videos, projects and updates HERE
- Or Subscribe to me on YouTube HERE
If you wish to purchase any of the items that I have used to day, please click on the photo icons below they will take you straight to my online shop. .


